When your baby starts choking, it’s a terrifying moment. But staying calm and knowing exactly what to do can make all the difference. One of the most important steps is holding your baby in the correct position while giving back blows. This simple action can help clear their airway and get them breathing again.
In this guide, you’ll learn how to safely hold your baby, how to give back blows the right way, and what signs to watch for. Whether you’re a new parent or someone who looks after infants, this is something you should know before an emergency happens.
The Essential Position: Face-Down on Your Forearm
The most important thing to remember is this: position the infant face-down along your forearm using your thigh for support, keeping the infant’s head lower than their body. This specific position isn’t random – it uses gravity to help dislodge whatever is blocking your baby’s airway.
Step-by-Step Positioning Guide
1. Support Your Arm
Place your forearm on your thigh or lap for extra stability. This gives you a solid base to work from and prevents you from accidentally dropping your baby during this stressful moment.
2. Place the Baby Face-Down
Hold the infant’s chest in your hand and the jaw with your fingers. Your palm should be supporting their chest while your fingers gently but firmly hold their jaw. Make sure you’re not covering their mouth or nose.
3. Head Lower Than Body
Tilt the infant head-downward, such that the head is lower than the body. This downward angle helps gravity work with you to push the object out of the airway instead of deeper into it.
4. Secure the Head and Neck
Your hand isn’t just holding the baby – it’s protecting their delicate neck and keeping their airway open. Keep your grip firm but gentle, supporting both the jaw and the head.
Why This Position Works So Well
This face-down position with the head lower than the chest serves several critical purposes:
Gravity Assistance: When the head is tilted down, gravity helps pull the stuck object toward the mouth instead of deeper into the throat.
Airway Protection: Supporting the jaw keeps the airway open and prevents the baby’s head from flopping around during back blows.
Better Force Transfer: The stable positioning allows the force from your back blows to travel more effectively through the baby’s body to dislodge the blockage.
Safety for Delicate Bones: Babies have soft, developing bones. This position protects their spine and ribs while still allowing effective back blows.
Common Mistakes to Avoid
Never Hold a Baby Upside Down: Some people think dangling a baby by their feet will help, but this can cause serious injury and isn’t effective.
Don’t Use Too Much Force: Baby bones are fragile. Use firm but controlled strikes between the shoulder blades.
Don’t Forget the Head Support: Always keep one hand supporting the head and jaw. Letting the head hang unsupported can damage the neck.
Don’t Panic and Rush: Take a moment to get the position right. A properly positioned baby will respond better to back blows than one held incorrectly.
The Complete Back Blow Technique
Once you have your baby in the correct position:
- Give 5 firm back blows between the shoulder blades using the heel of your other hand.
- Check the mouth after each blow to see if the object has come loose.
- If the object doesn’t come out after 5 back blows, flip the baby over and give 5 chest thrusts. For guidance on proper technique, read when giving chest thrusts to an infant, to which depth should you press?
- Keep alternating between back blows and chest thrusts until the object comes out or emergency help arrives.
When to Call for Emergency Help
Call 911 immediately if:
- The baby becomes unconscious
- The back blows and chest thrusts don’t work after several cycles
- The baby turns blue or stops breathing
- You’re not sure what you’re doing
Remember, you can continue giving back blows and chest thrusts while waiting for emergency responders to arrive.
Practice Makes Perfect
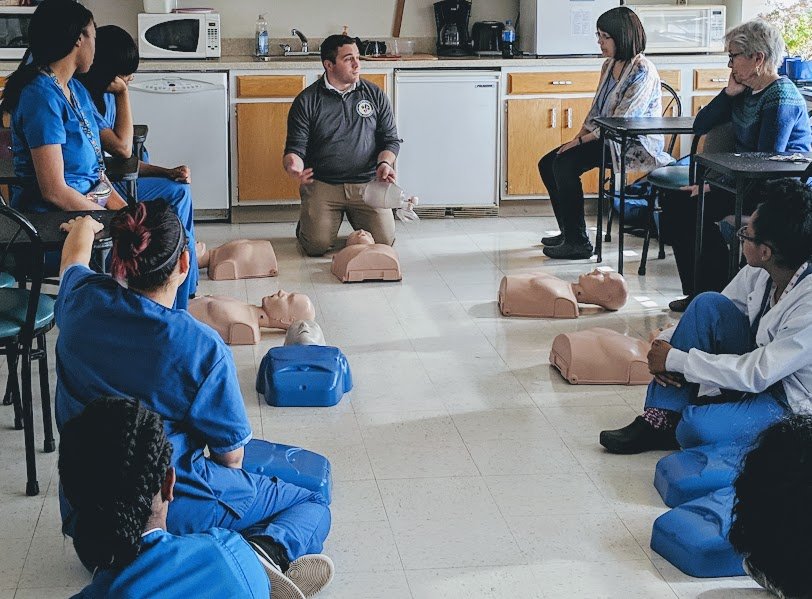
The best time to learn this technique is before you need it. Consider taking an infant CPR and first aid class through your local Red Cross or hospital. Many parents find that practicing on a doll helps them feel more confident about the hand positions and force needed.
You can also ask your pediatrician to show you the proper technique during a regular checkup. Most doctors are happy to demonstrate these life-saving skills.
Prevention is Always Better
While knowing how to help a choking baby is crucial, preventing choking is even better:
- Keep small objects away from babies and toddlers
- Cut food into small, appropriate pieces
- Always supervise meal times
- Learn which foods are common choking hazards for different ages
Final Thoughts
Knowing how to properly position an infant for back blows is a skill every parent and caregiver should have. The face-down position with the head lower than the chest, supported by your forearm and hand, gives you the best chance of helping your baby in an emergency.
Remember: face-down, head lower than the chest, secure support for the head and jaw, and your forearm resting on your thigh for stability. Practice this positioning so it becomes second nature – because in a real emergency, you won’t have time to think about it.
The most important thing is to stay as calm as possible and follow the proper steps. Your quick action and correct positioning could save your baby’s life.
Preparedness begins with taking action. Bayside CPR offers a simple, time-efficient way to get certified, even for the busiest schedules. Just complete a short online course and a 30-minute in-person skills check at any of our 60+ locations to earn your AHA Standard certification in ACLS, BLS, PALS, CPR, or First Aid, with your certification card available the same day.
