
Choking is a serious and potentially life-threatening emergency in infants, who are particularly vulnerable because their small airways can be easily blocked, and they often put objects in their mouths. Even a tiny obstruction can completely cut off airflow, making rapid and correct action critical. Administering chest thrusts properly can save an infant’s life, as the correct technique applies enough pressure to dislodge the obstruction without injuring the fragile chest, ribs, or internal organs, whereas incorrect depth or placement can be ineffective or harmful.
Chest Thrusts vs. Chest Compressions
It is important to distinguish between chest thrusts and chest compressions. Understanding this difference is key to responding correctly in an emergency.
- Chest thrusts are used specifically to relieve choking in a conscious infant. They are short, firm pushes aimed at creating enough pressure to expel the object from the airway.
- Chest compressions are part of CPR (cardiopulmonary resuscitation) for infants who are unresponsive or have no heartbeat, aimed at circulating blood and oxygen.
Understanding Chest Thrusts for Infants
- Definition: Chest thrusts involve pressing on the infant’s chest in a controlled way to generate pressure that can force an object out of the airway.
- Indication: Chest thrusts are used only when a conscious infant is choking and cannot breathe, cough, or make sounds.
- Age Definition: In CPR and first aid, an infant is defined as a child under 1 year old, distinguishing them from toddlers and older children, who require different techniques. Understanding the differences between infant, child, and adult CPR is essential for applying the correct approach in an emergency.
Proper Positioning for Chest Thrusts
Getting the infant into the right position makes chest thrusts safer and more effective. A steady, supported hold helps you act quickly and confidently in an emergency.
1. Correct Positioning of the Infant
When giving chest thrusts to an infant, proper positioning is critical for safety and effectiveness. Place the infant face-up on your forearm or lap, ensuring their body is well-supported and accessible for the thrusts.
2. Supporting the Head and Neck
Infants have delicate necks and heads that cannot support themselves. Always support their head and neck with your hand while positioning them. Keep the head slightly lower than the chest to help dislodge the obstruction more effectively.
3. Ensuring Stability Before Delivering Thrusts
Before performing chest thrusts, ensure the infant is stable and secure. A firm, stable position prevents accidental injury and allows you to deliver quick, controlled thrusts without slipping or causing unnecessary stress to the baby.
Correct Depth of Chest Thrusts
Pressing to the right depth makes chest thrusts work better and keeps the baby safe. Using just enough force helps clear the airway without causing harm.
1. Recommended Depth
When giving chest thrusts to an infant, press about 1.5 inches (4 cm) deep, which is roughly 1-3 of the chest’s depth. This depth provides enough force to help dislodge the obstruction without causing harm.
2. Why Depth Matters
Pressing too shallow may not move the object, while pressing too deeply can injure the infant’s fragile chest or organs. Using the right depth ensures that each thrust is both safe and effective, giving the best chance to clear the airway quickly.
Chest Thrusts: Delivery Technique
Knowing the right way to give chest thrusts helps clear the airway safely. Using proper technique makes each push more effective and protects the baby.
1. Use Two Fingers
Place your index and middle fingers at the center of the infant’s chest, just below the nipple line. This is the safest and most effective spot to apply thrusts.
2. Delivering Quick, Forceful Thrusts
Push quickly and firmly straight down, using controlled pressure to create enough force to dislodge the object. Keep your movements deliberate but fast.
3. Number of Thrusts Per Attempt
Give about 5 chest thrusts per set, then check if the airway is clear. Repeat if needed until the object comes out or help arrives.
4. Checking for Airway Obstruction
After each set of thrusts, look inside the mouth and listen for breathing or coughing. If the airway is still blocked, continue with additional thrusts while calling for emergency assistance.
Common Mistakes to Avoid
Small mistakes can reduce the effectiveness of chest thrusts, so it’s important to know what to watch for. Staying calm and following the correct steps keeps the baby safer during an emergency.
- Pressing Too Shallow or Too Deep: Pressing too lightly won’t generate enough force to move the object, while pressing too hard could hurt the infant’s chest. Aim for a steady, controlled depth.
- Using the Wrong Finger Placement: Placing your fingers too high or too low reduces effectiveness and increases the risk of harm. Always press just below the nipple line at the center of the chest.
- Hesitating or Pausing Too Long Between Thrusts: Long pauses can break the momentum needed to clear the airway. Keep your thrusts steady and consistent.
- Forgetting to Call for Help If the Airway Is Not Cleared: If the obstruction doesn’t come out quickly, call for emergency help immediately. Continuing alone for too long can delay life-saving care.
- Improper Thrusts: Thrusts that are slow, weak, or angled may be ineffective. Use quick, straight-down movements with firm but controlled pressure.
- Blind Finger Sweeps: Never insert your fingers into the infant’s mouth unless you see the object clearly. Blind sweeps can push the obstruction deeper.
- Other Harmful Actions: Shaking the infant, hitting the back while they’re face-up, or trying home remedies can worsen the situation. Stick to approved first aid steps only.
Safety and Considerations
It’s important to stay alert and aware while helping an infant in distress. A calm approach helps you make safe choices and respond quickly when things change.
- Monitor the Infant’s Response: Watch the infant closely as you give chest thrusts. Look for signs of breathing, coughing, crying, or any movement that shows the airway is clearing.
- When to Switch to CPR: If the infant becomes unresponsive at any point, stop chest thrusts right away and begin CPR. Starting CPR quickly helps keep oxygen moving until help arrives.
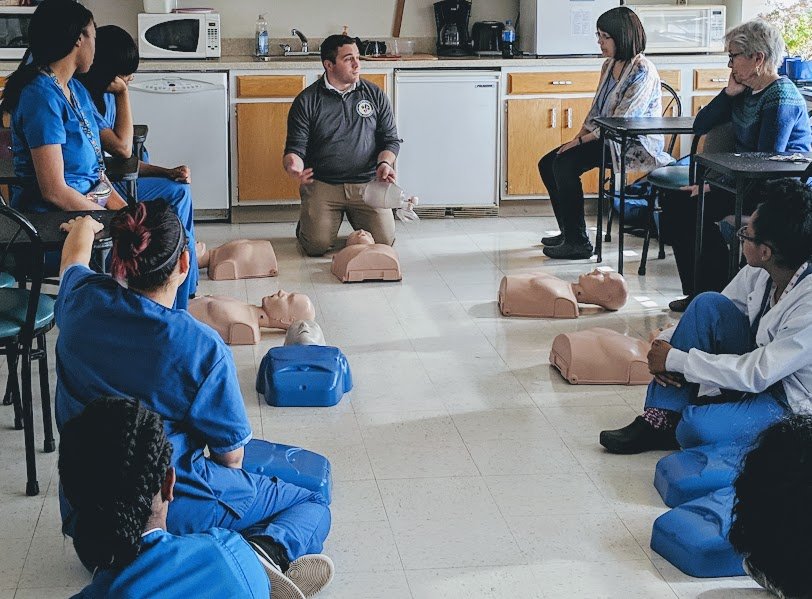
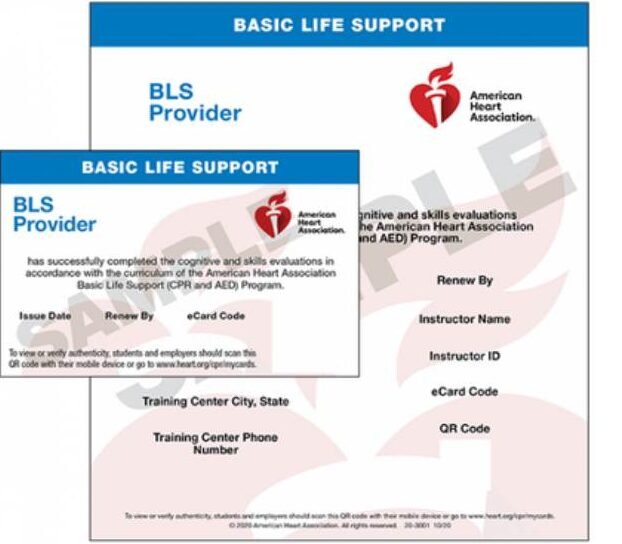
- The Importance of Professional Training and BLS Provider Cad: Learning these skills through proper BLS or First Aid training gives you confidence and ensures you’re using the safest methods. Regular practice helps you stay prepared for real emergencies.
Infant Choking: Confident & Quick Response
In summary, knowing how to give chest thrusts to an infant can make a real difference during a frightening moment. When you understand the right depth, hand placement, and overall technique, you’re better prepared to act with confidence and protect a little one in danger. Staying calm, watching the infant’s response, and calling for help when needed all work together to create a safer outcome. With proper training and steady practice, you can respond quickly and give an infant the best chance to breathe again.
Get prepared without the stress. Bayside CPR makes BLS (Basic Life Support) training simple and flexible. Complete a short online course, then attend a 30-minute in-person skills session at one of 60+ locations to earn your AHA BLS provider card the same day, helping you feel confident and ready when it matters most. We also offer other advanced training, including ACLS, PALS, CPR, and First Aid.